Ingredients
Equipment
Method
- Mix all the dry ingredients in a bowl.
- If you have a food processor, you can pour the ingredients into the bowl and pulse the dough to incorporate the butter and honey into the flour.
- If you don't have a food processor, pour your cold butter cubes into the dry ingredients. Rub the butter into the dry ingredients until you have a dough that resembles fine crumbs. Then add the honey and quickly bring the dough together—it should be uniform—and let it rest for about 30 minutes.
- Preheat the oven to 180 degrees. (Do not use the convection setting.)
- Roll out the dough to a thickness of about 3–4 mm. Place the rolled-out dough in the freezer or refrigerator for 20 minutes, then cut out the cookies. I use a 6-cm-diameter cookie cutter for these cookies.
- Bake the cookies for about 8–10 minutes, until they are golden brown around the edges.
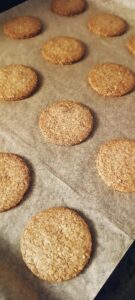
- Let the cookies cool on a wire rack.
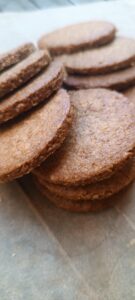
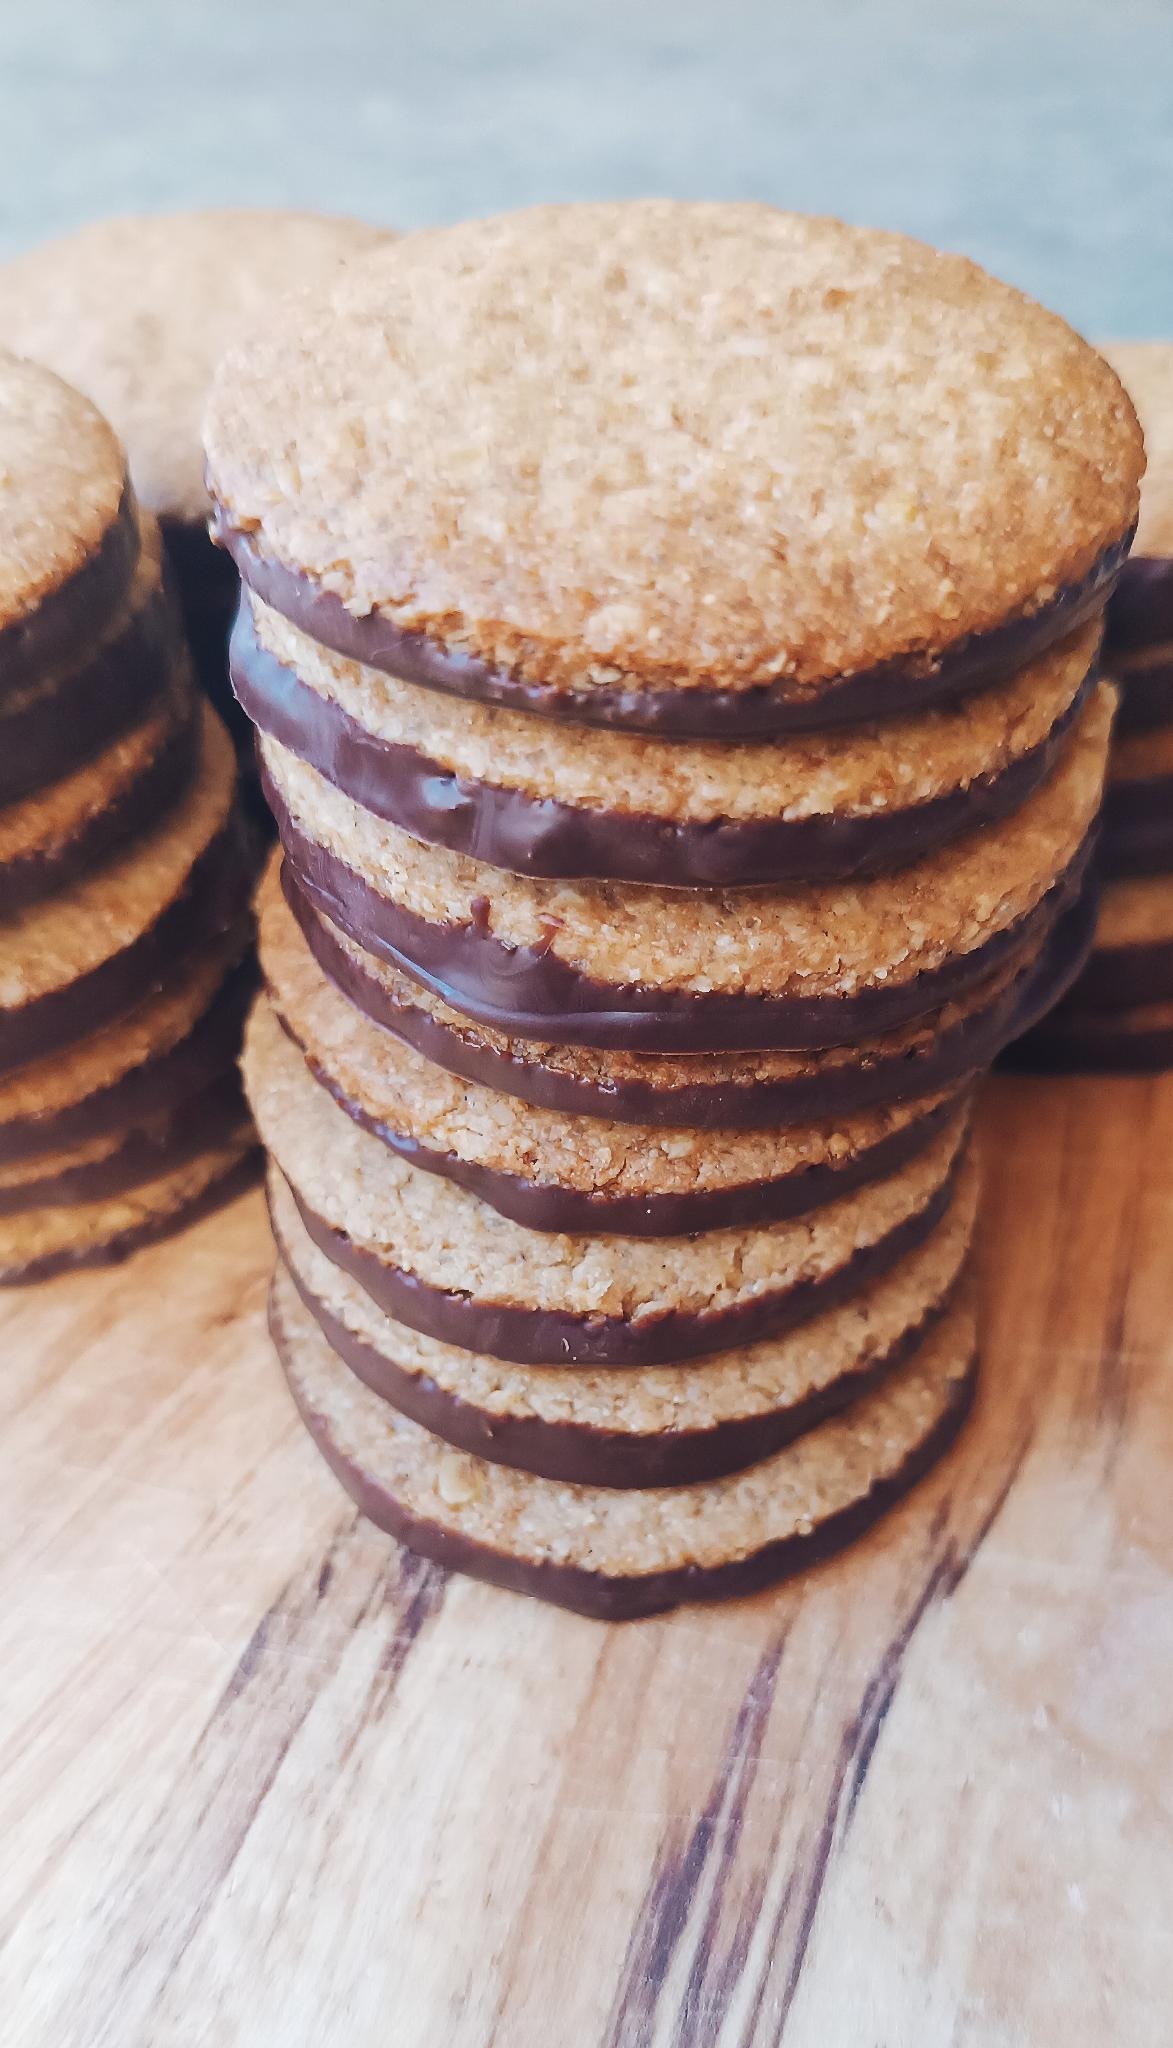
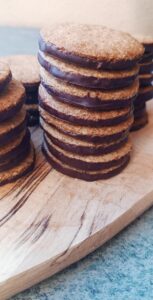
- Once the cookies have cooled completely, temper the chocolate, dip each cookie in the chocolate, and place them on a silicone mat or parchment paper to cool until the chocolate has set completely.
- The cookies can be packed in cellophane bags or stored in an airtight cookie jar. They’ll last for several months if stored properly. The question is more whether they’ll last that long! In our house, they’re usually gone after a couple of days...
Notes
You can dip the cookies in other types of chocolate if you have access to good-quality light or white chocolate. I never temper less than 300g of chocolate; there will always be extra chocolate left over that can be used for an extra batch of cookies or ice cream. I usually just store it in a dry place in the bowl until I need it again.