
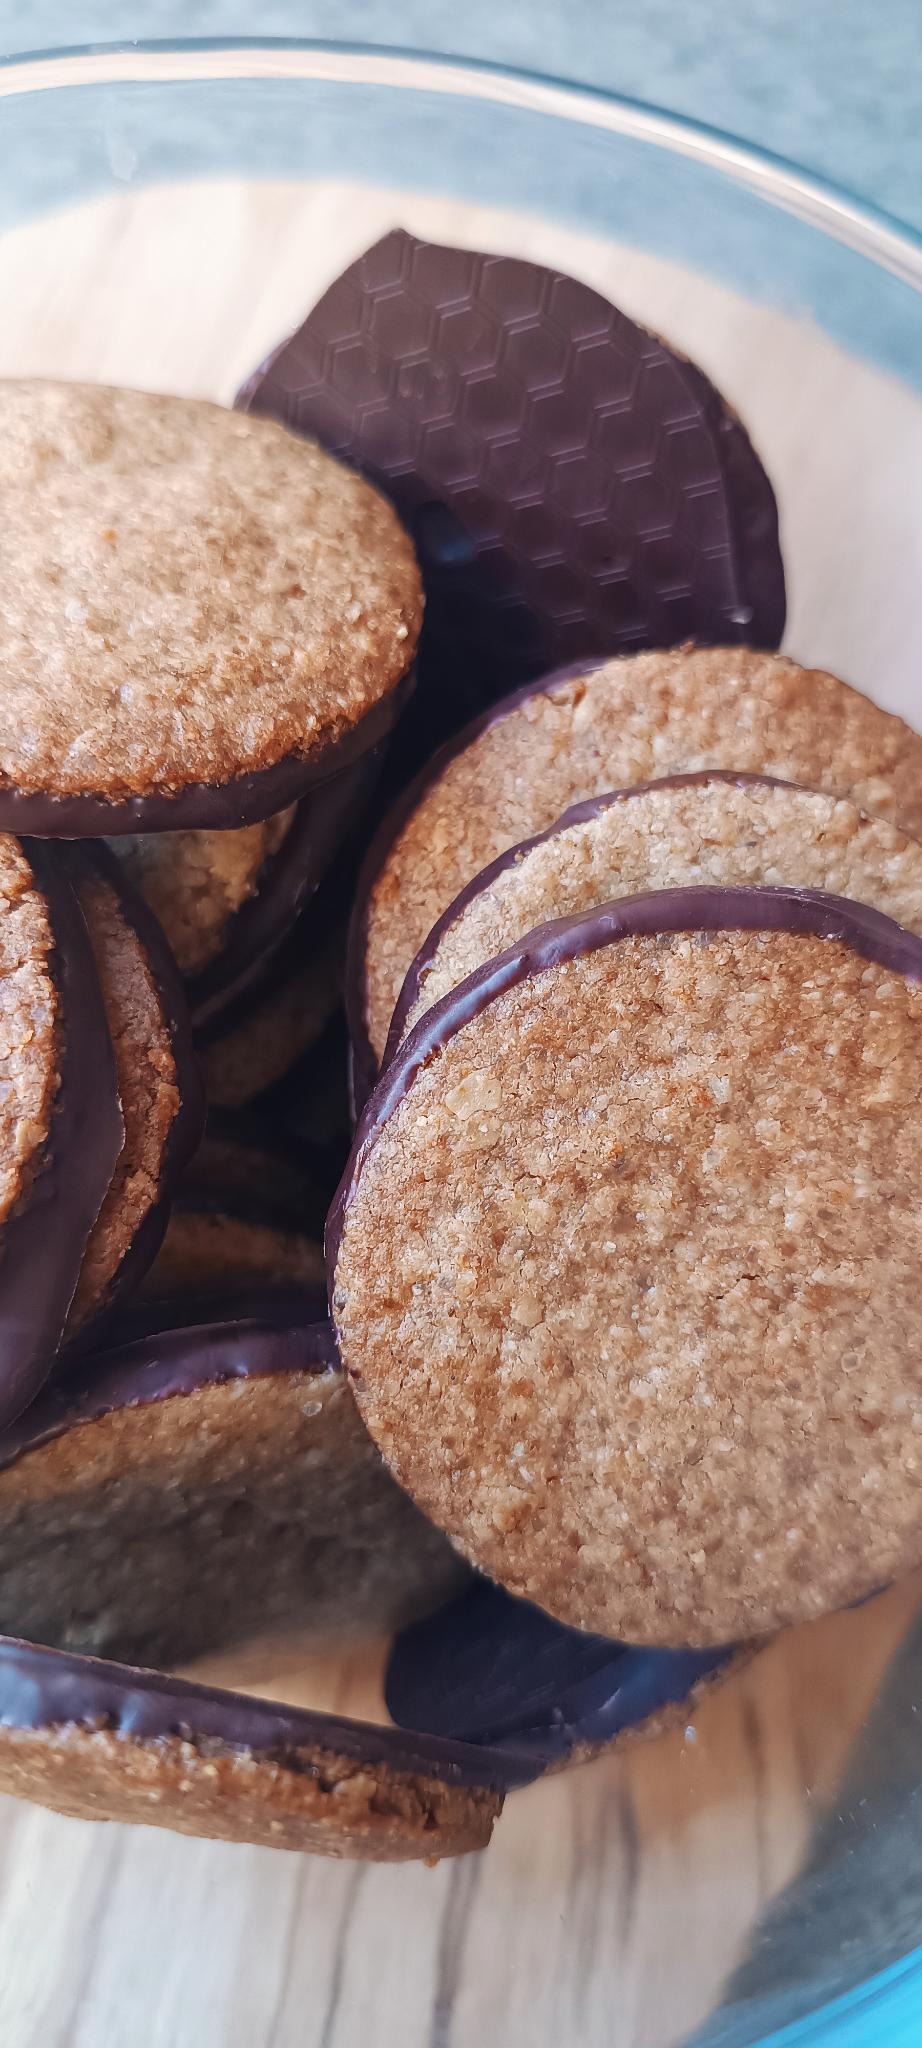
It’s hard to find a good chocolate cookie like that! In the supermarket, almost all the cookies are baked with palm oil, hydrogenated coconut oil, sunflower oil, and so on. On top of that, there’s no limit to the number of strange ingredients the industry adds to mask how old the cookies are and to make them feel like they contain butter, etc.
In short, you won’t find any real cookies in the supermarket that aren’t loaded with junk. Unfortunately, that’s where we are today. So yes, when we had the store/bakery, I baked a lot of cookies and small pastries. Just like the ones we know from the supermarket—we had chocolate cookies, sandwich cookies, licorice cookies, ginger-lemon cookies, French cinnamon cookies, and many others—all baked without any junk. Just honest, good crackers and cookies that kids liked and that families and people who love sweets came to buy with great joy, time and time again. This is just one of them. It’s a cookie that most people can make relatively quickly, and yes, it’s gluten-free—which is basically the least important thing about it, though it does mean that most people can eat it.
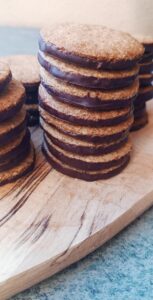
This is a very simple chocolate cookie, and yes, it’s a bit like chocolate-covered oatmeal cookies or Hobnobs—we’re just cranking up the quality by a couple hundred percent and baking something that could still be classified as food. So, of course, the difference is that they taste much better, but more importantly, they’re free of hydrogenated fats, oils, refined sugar, glucose, oligofructose, corn, hybrid wheat, lecithins, various strange flavorings, and other ultra-processed additives whose ingredients most people can’t actually make sense of.
So these are chocolate cookies you can use for everything you’d normally use those other “supermarket” cookies for. Kids love them, and yes, they’re great with afternoon coffee, on a hike, at a picnic, or at the beach. They’re easy to make, and once you master the recipe, you’ll never have to buy the store-bought kind for your kids again. I also think your kids will learn that these taste better! Here at our house, I make them with the kids, and that way they learn that this is how you make chocolate cookies, instead of thinking they’re something we just buy at the supermarket.
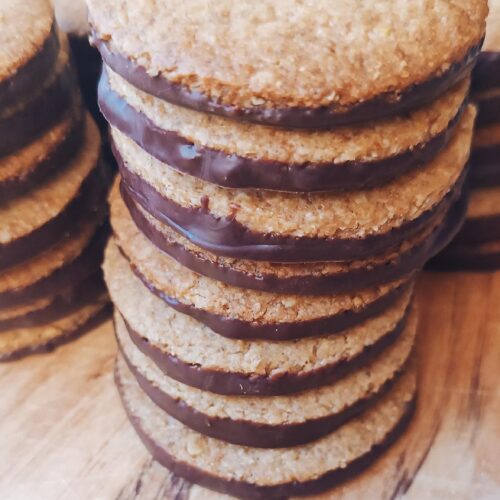
Oat Cookies with Chocolate
Equipment
- 1 Food Processor(If you don't have one, you have hands, and they work just as well)
Ingredients
- 100 g Oat flour (I'm just grinding some rolled oats in a spice grinder.)
- 60 g Oatmeal
- 30 g Tapioca Flour (not starch but flour; it's also called Yucca, Manitoba, etc.)
- 20 g Willow root (also called arrowroot; you can use potato starch instead if you don't have arrowroot)
- 25 g Raw cane sugar (I use Dulcita, but you can use mascobado, muscovado, or panela without any problem.
- 35 g Unrefined cane sugar (I'm just using brown cane sugar here, but you can also use demerara)
- 1 tbsp Vanilla sugar (I use the homemade version; find the recipe on the blog)
- 1/2 tsp Savory (I use fleur de sel)
- 5 g Baking powder (I use a gluten- and aluminum-free baking powder)
- 30 g Honey (It's a good idea to use pre-sweetened honey for baking, if you have any.)
- 100 g Unsalted Butter (cold butter, cut into cubes)
- 300 g Dark Chocolate 70% (I use a lecithin-free dark chocolate)
Instructions
- Mix all the dry ingredients in a bowl.
- If you have a food processor, you can pour the ingredients into the bowl and pulse the dough to incorporate the butter and honey into the flour.
- If you don't have a food processor, pour your cold butter cubes into the dry ingredients. Rub the butter into the dry ingredients until you have a dough that resembles fine crumbs. Then add the honey and quickly bring the dough together—it should be uniform—and let it rest for about 30 minutes.
- Preheat the oven to 180 degrees. (Do not use the convection setting.)
- Roll out the dough to a thickness of about 3–4 mm. Place the rolled-out dough in the freezer or refrigerator for 20 minutes, then cut out the cookies. I use a 6-cm-diameter cookie cutter for these cookies.
- Bake the cookies for about 8–10 minutes, until they are golden brown around the edges.
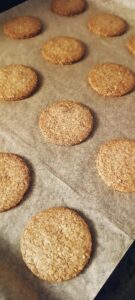
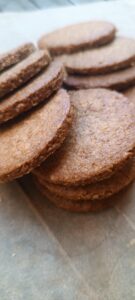
- Let the cookies cool on a wire rack.
- Once the cookies have cooled completely, temper the chocolate, dip each cookie in the chocolate, and place them on a silicone mat or parchment paper to cool until the chocolate has set completely.
- The cookies can be packed in cellophane bags or stored in an airtight cookie jar. They’ll last for several months if stored properly. The question is more whether they’ll last that long! In our house, they’re usually gone after a couple of days…
Notes
I hope you'll try baking these, and if you do, please leave a comment below or send a photo to the Signal group so others can see how they turned out.
Love

P.S. All posts on this blog are written and photographed by Belle Frost; no AI was used to generate content, and all copyright belongs to Maison Frost.





Leave a Reply