
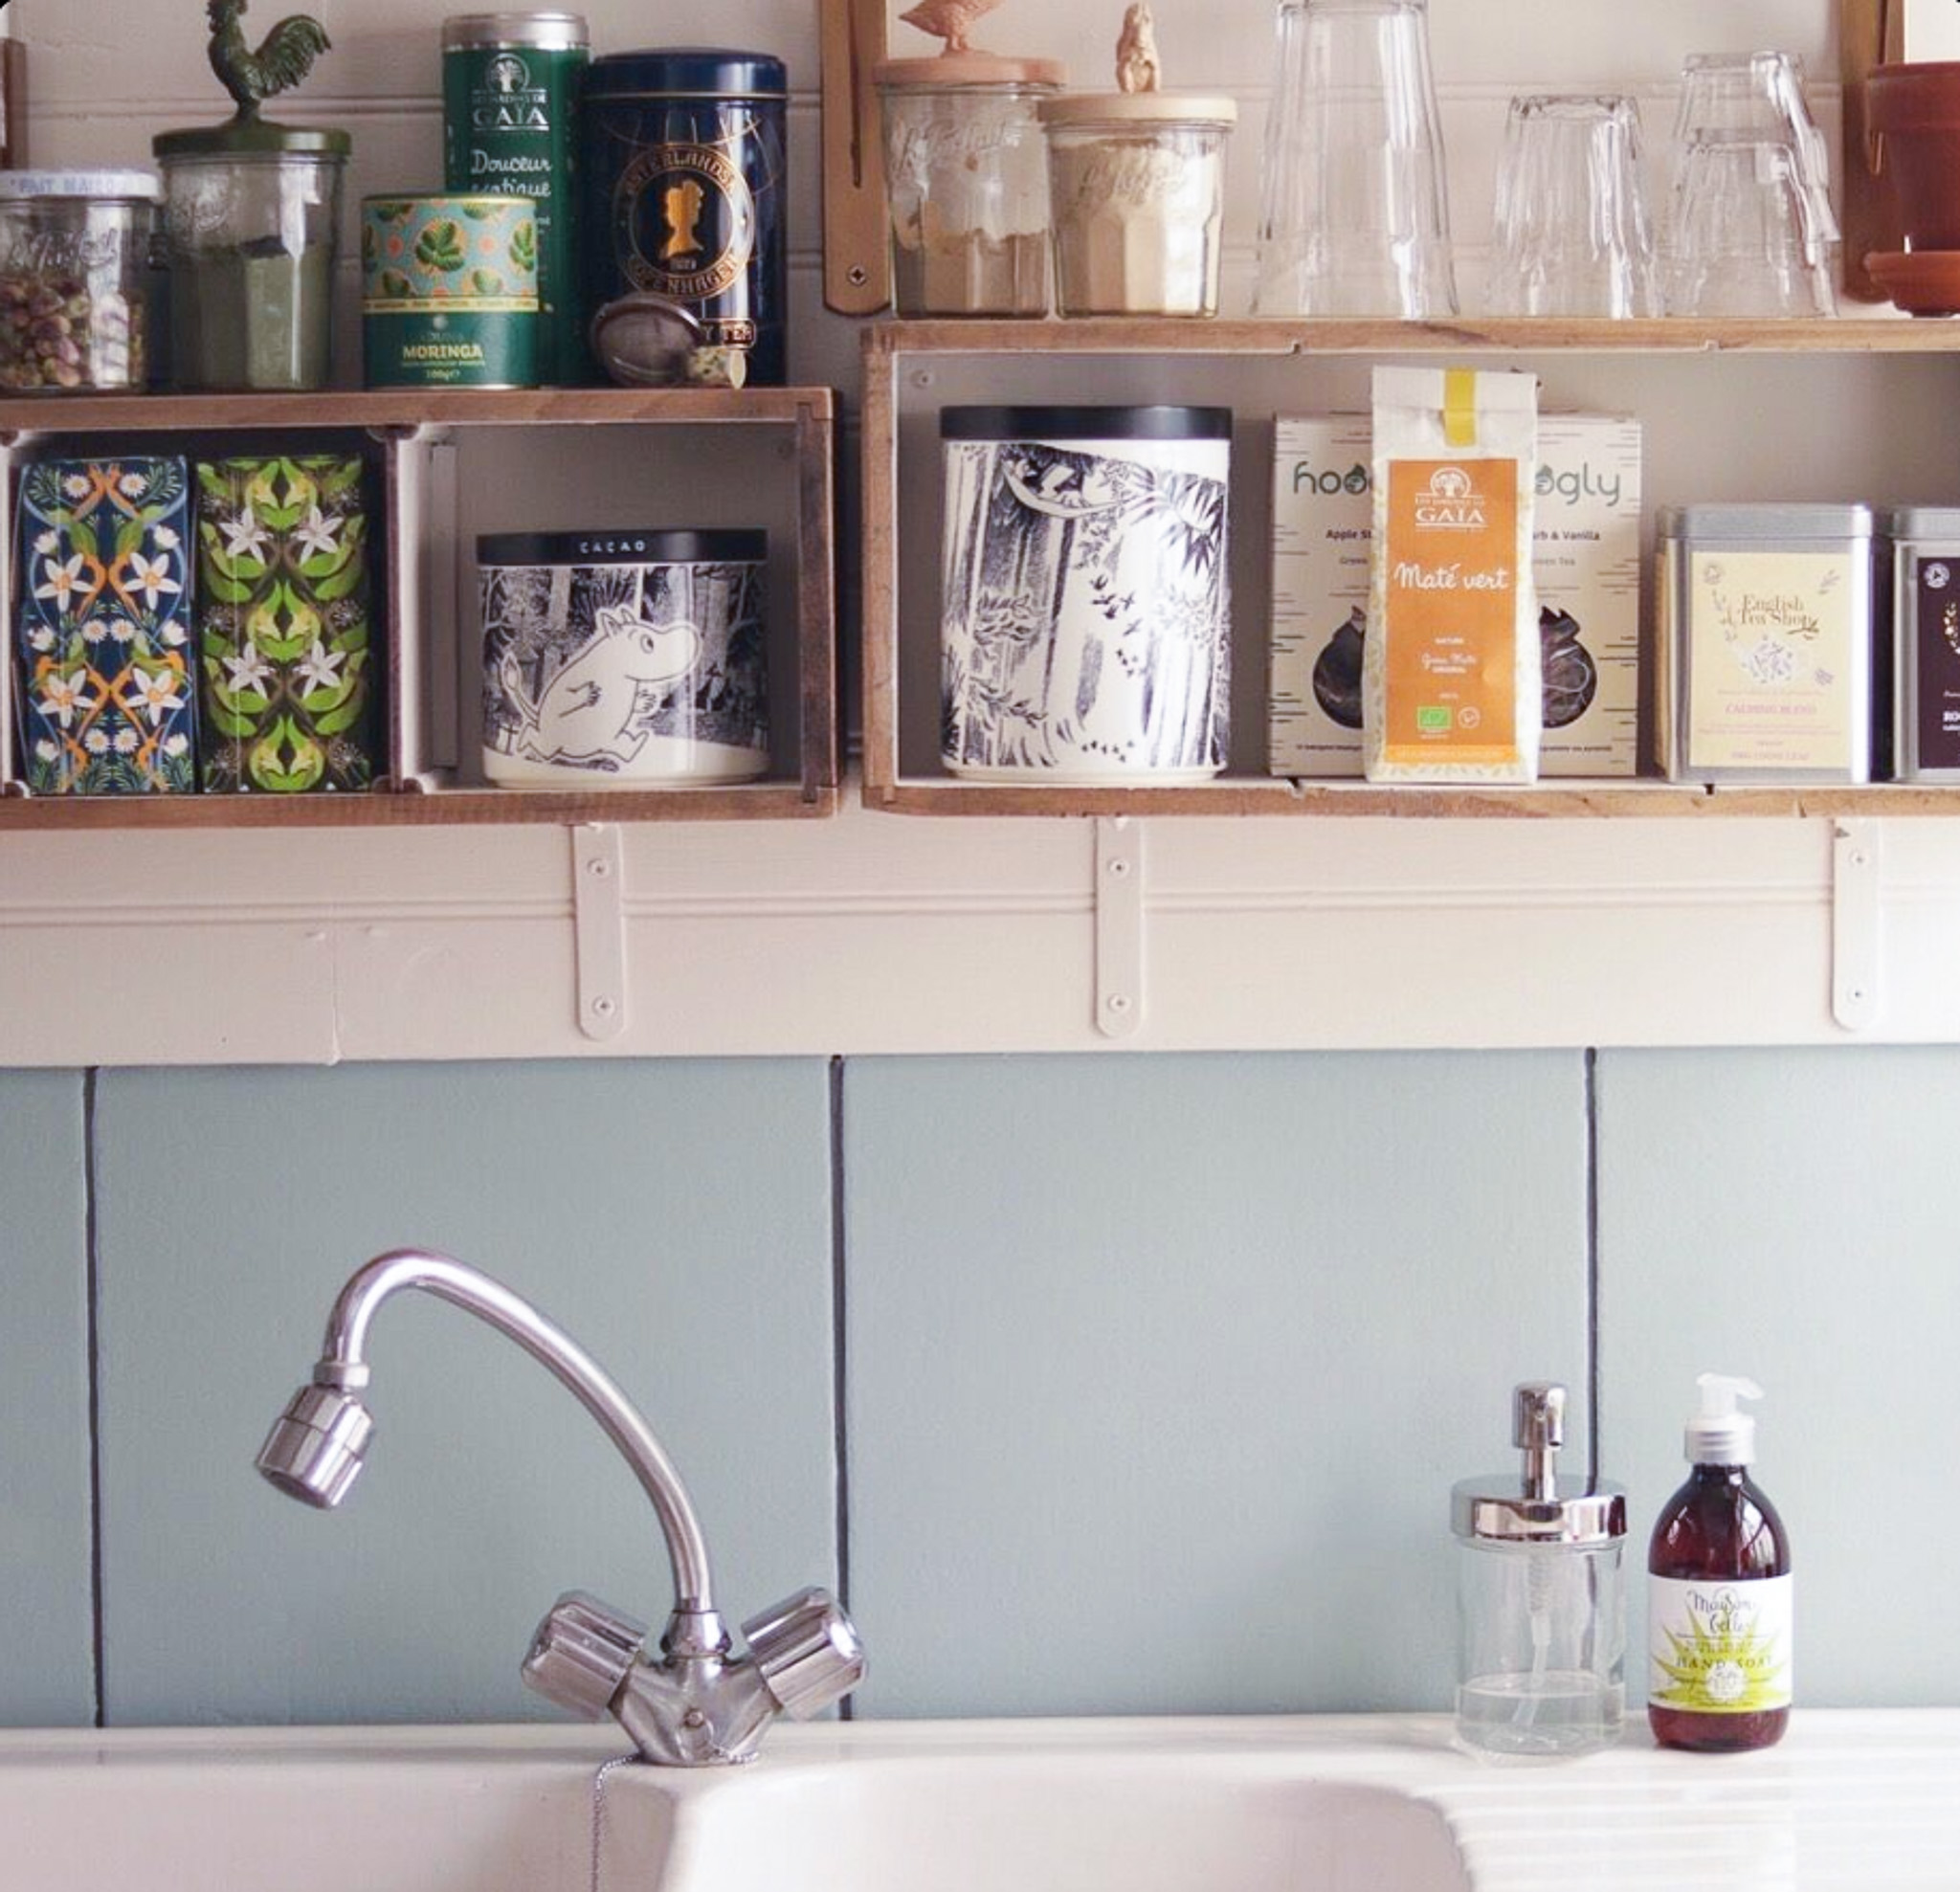
That whole thing about plumbing was never really something I learned at home, just like so many other important things.
So, as a child, I actually learned surprisingly little about anything related to home maintenance, machinery, finances, and so on. I imagine there are many people my age who can relate to this?
It wasn’t until I went to boarding school that I learned how to clean properly; they made a big deal out of us being able to do it ourselves. Our headmaster, Viggo, and I had a very friendly relationship; he’d also check my cleaning and teach me how to properly wipe down light switches and outlets and stuff like that, hahahaha! I was used to being in the kitchen, since I’d already been cooking and baking on my own for many years by that point. But when it came to maintaining a drain, well… it took me quite a few years before I grasped the importance of this and learned to do it in an environmentally friendly way.
Because, yes, there are so many ways to do it—most involve colorful plastic containers filled with corrosive glue in garish neon colors. Not exactly friendly, either to us or to the earth. So I haven’t had much interest in those for many years now, but I used to use them, with very mixed results. Once, it corroded one of my pipes, so it spilled out “corrosive liquid” and, well, sludge—it was really gross!
So what do you do then? Well, I Googled around and found various recipes claiming that baking soda and vinegar were the solution to every possible problem with a drain, so that’s what we used—without really knowing what we were actually doing over time. Then, suddenly, we had a drain that was so clogged that we had to call for help after trying EVERYTHING for several weeks without being able to get the water to drain on our own. That’s when we realized that the baking soda and vinegar solution can actually be a really bad idea.
When the plumber came by, it wasn't just a little clump that came out of the drain—no, no—if you're squeamish, close your eyes.
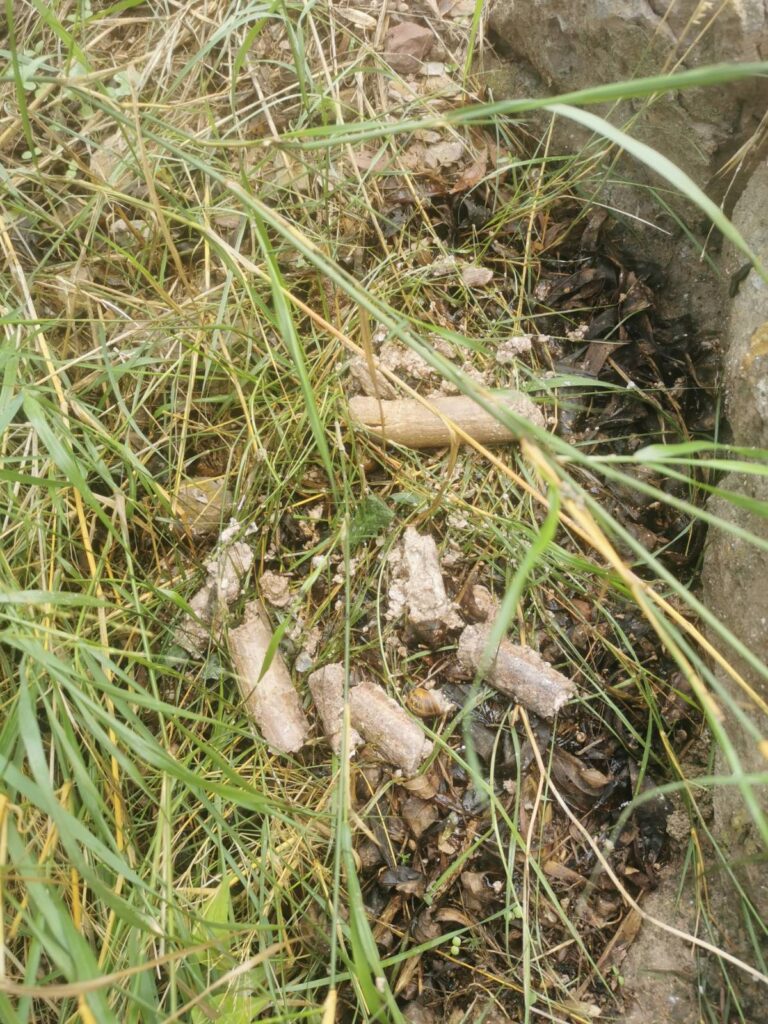
Here’s one of the ugliest photos I’ve chosen to share on this blog, which I otherwise try to keep aesthetically pleasing. But let’s be honest—sludge isn’t pretty. Instead, it’s the result of not really understanding the importance of maintaining your drains…
Which I admit I’m 100% guilty of here. When a compact clump of sludge nearly 50 cm long comes out of a drain—so much so that the plumber had to cut the drainpipe to clear the blockage—it’s clear I haven’t been maintaining it very well. The plumber had never encountered such a compact or troublesome “clog” before. So yes, it was a new and not-so-charming experience for all of us.
I call it a “clog” because that’s really how we should view our drains—as a digestive system that needs help to function properly. Unfortunately, that kind of help doesn’t come from baking soda or vinegar, which tend to crystallize in the drains, so they aren’t really a constructive solution in the long run.
But prevention is really the only thing that should matter right now. Learning to treat your home as a system that needs care so it can stay healthy and in good shape. It’s not much different from taking care of your body, really. Unfortunately, we don’t learn about this at home or in the school system, so we often have to learn it the hard way—which is when the problem has already arisen, as is the case here with our sludge mess.
Since then, I’ve learned to maintain my drains and check them weekly. Just like my grandmother did—she had countless products (chemicals) lying around; they weren’t dangerous chemicals, but what you’d call raw materials for keeping the house in good condition. She was a lab technician, but she also had that know-how that her generation possessed. They knew more about how to maintain things. They came from a time when people repaired things—they didn’t just buy new ones. My generation has learned practically very little in the way of practical skills; we’ve learned all sorts of things that are basically completely irrelevant, and we’ve learned to hand over the necessary knowledge to the experts and listen to them—and not to be particularly resourceful ourselves when it comes down to it.
You see, that’s a trend that’s really bothered me throughout my entire adult life. I really don’t like putting myself down like that—I don’t want to just lounge around watching Netflix while a plumber makes a fortune off my ignorance. The most important thing, in my view, is that you can handle the vast majority of things on your own. I don’t want to outsource everything I can do myself to others. I find joy in the fact that we can repair and maintain things ourselves, take care of our family ourselves, work on our car ourselves, fix up the house, and so on and so forth. It’s just a huge sense of freedom, and there are so many things we can handle on our own because it’s super easy—and a lot of it is just about maintenance, since that prevents the need for repairs or having the septic tank pumped out.
I love being able to do things myself! I really hate having to call a contractor or someone else because we can’t do it ourselves—and let’s just be honest about it. It’s happened 4–5 times in our 15-year marriage, so it’s not often we’ve had to give in. We like to do things ourselves, and that’s why we decided to try fixing the drain on our own. We tried for weeks with everything from vinegar, baking soda, “caustic” products from the hardware store, lye, expensive drain snakes, and plungers, but nothing worked. This meant we had to pour water out of a bucket every time we used one of the kitchens, since there was no working drain in it—and, well, it really wasn’t any fun.
So the solution was to bring in outside help, which then solved the problem—a problem we had created ourselves. This was primarily due to a lack of maintenance and poor guidance.
So no, this isn't yet another blog post about baking soda and vinegar. Since it was actually obvious from the sludge that the baking soda/vinegar routine had clogged our drain even more, we're not using that anymore.
On the other hand, I’ve now learned to be practical when it comes to drains, just like my grandmother was. She had certain things she did every week, and cleaning the drains was one of them. Descaling the bathtub, sink, washing machine, and kettle were a few others. But she did it every week, which meant there was never any limescale anywhere, and she never had a clogged drain—she had a knack for that sort of thing, and I have to admit that I certainly haven’t. Because all I’ve ever learned to do is go to school, come home, relax, entertain myself, eat, and sleep. Which is extremely limiting and unfortunate. So the process of unlearning has been long and hard.
But now I’ve come to realize that having a plan and a routine for maintenance is important—it really makes a difference if you don’t want to constantly run into problems with something in your home, in your life, or in your body. So yes, I have to learn everything I didn’t learn before, and it’s not always easy, but I’m working on it every day.
Maybe some of the above sounds familiar to you—otherwise, you probably wouldn’t be reading this post, right? Below, I’ll share how I clean and maintain our drains in a relatively simple and eco-friendly way every week when we’re at home.
So that’s one less thing to worry about. Because you’ve already done your best to prevent any emergencies, messes, and so on. I have to admit, that gives me a lot of peace of mind.
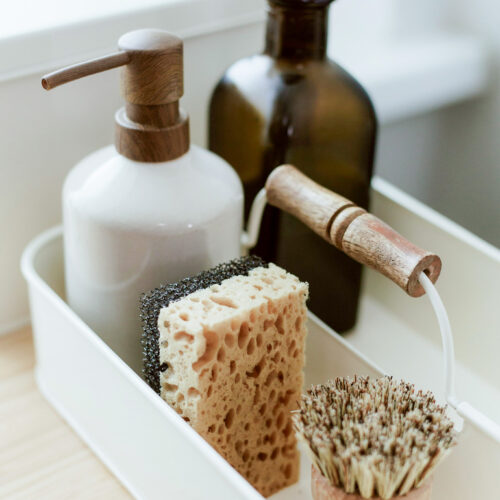
Weekly Drain Maintenance
Equipment
- 1 kettle
Ingredients
- 1 L Hot Water
- 45 g Crystal Soda / Washing Soda (both powder and crystals can be used)
- 250 ml Vinegar (I use a 14%)
- 3 L Boiling water
- 2 tbsp Citric acid
- 100 ml Enzyme solution (This isn't a must, but your drain will love it, and so will your septic tank. The recipe for an enzyme cleaner is on the blog, and the recipe for the enzyme solution is in the note.)
Instructions
- Pour 1 liter of boiling water down the drain.
- Mix the crystal soda into 1 L of warm water and stir with a silicone spoon until it is completely dissolved.
- Once the liquid is free of crystals, pour it down the drain. Let it sit for 15 minutes.
- Once the 15 minutes are up, pour the vinegar directly down the drain and let it sit for another 15 minutes.
- Pour one liter of water into the kettle and add 2 tablespoons of citric acid. Bring the water to a boil and pour it down the drain after 15 minutes.
- Boil another pot of water, pour it down the drain, and presto—problem solved. Your drain should be all set for the coming week, with no odors or slow drainage.
- If you're using an enzyme solution, now is the time to pour 100 ml down the drain and let it sit for about an hour without using the drain.
Notes
The recipe for Active Enzyme Cleaning with Lemon is here!
Facts About Crystal Soda:
Crystal soda, also known as sodium carbonate, is a mineral-based cleaning agent that is natural and not harmful to the environment.
Crystal soda has a higher pH value than sodium bicarbonate (baking soda). This alkaline property helps neutralize acidic substances, such as fats and oils, by converting them into water-soluble salts. (That is why you should not neutralize the alkaline effect by pouring vinegar or citric acid directly down the drain; instead, wait 15–20 minutes.).
Crystalline soda is water-soluble, which allows it to dissolve and break down grease, dirt, and mineral deposits more easily. So when crystalline soda comes into contact with oils and fats, it forms a stable emulsion, allowing the mixture to be easily rinsed away.
Crystal soda prevents a buildup of grease and dirt on the inside of your pipes, as it softens the water and reduces limescale formation in your drains through an ion-exchange reaction. Limescale tends to trap debris, whether it’s hair, dirt, skin cells, or grease. That’s why it’s important to keep limescale buildup to a minimum. A combination of crystal soda, Active Enzyme Cleaning, vinegar and citric acid are therefore a lifesaver for any drain. They help prevent and reduce the buildup of limescale and grease on the inside of your pipes, especially when used regularly.
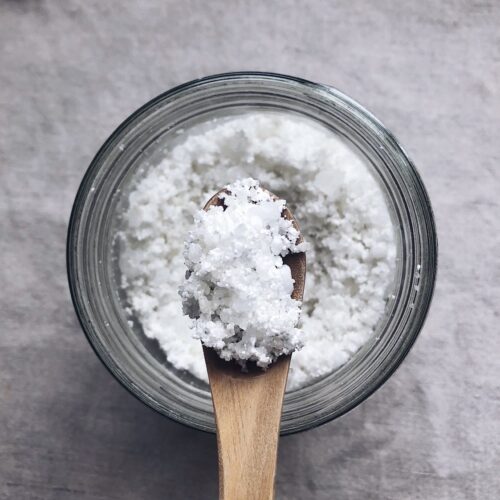
Drain Cleaner
Equipment
- 1 kettle
Ingredients
- 1 L Varnt Water (I use demineralized water, usually the water left over from my dehumidifier. If you don't have that, you can just use tap water.)
- 100 g Soda Crystals
- 250 ml Vinegar (I use 14%—use whatever resolution you can get)
- 3 L Boiling Water
Instructions
- Boil 1 L of water and pour it down the drain.
- Pour the baking soda crystals into the hot water and stir until they are completely dissolved.
- Once the solution is clear, with no crystals or cloudy appearance, pour it directly into the drain you want to clean.
- Let it sit for about 20 minutes.
- Then pour the vinegar on top and let it sit for 10 minutes.
- Boil another 1 liter of water
- Pour it down the drain after 10 minutes have passed, and bring another pot of water to a boil.
- Pour in the last pitcher of water and check to see if the drain smells neutral and the water flows through easily.
- If the drain is still slow, repeat the process.
Notes
Tip for severely clogged drains:
If the crystal soda solution described above does not work after several attempts, are there two other options?.Concentrated Crystal Soda (especially effective for short or narrow bathroom drains)
100 g Crystal Soda 500 ml Vinegar 3 L of boiling water 4 tablespoons citric acid Pour 100 g of baking soda crystals directly down the drain without adding water. Let it sit for 15 minutes, then pour the vinegar down the drain (you’ll hear a loud fizzing sound) and let it sit for 10 minutes. Pour 1 liter of water plus 2 tablespoons of citric acid into a kettle, bring the water to a boil, and pour it directly down the drain. Repeat this step: 1 liter of water with 2 tablespoons of citric acid. Pour it down the drain, then boil the last kettle of water without any additives and pour it down the drain. This can be repeated 2–3 times if the drain is very clogged.Caustic Soda (crystals, not liquid)
If the method above doesn't work, I use caustic soda. Caustic soda cannot be used if you have drain pipes made of galvanized steel, iron, or copper. However, if you have plastic or similar materials, this is the best option to try before calling a plumber. Sodium hydroxide can remove even the most stubborn clogs because it breaks down organic matter and grease. It’s important to use it as follows. Always remember that it doesn’t have to end here—if you maintain your drains, you can limit your use of sodium hydroxide to making soap. You will need: Long clothing 1 pair of rubber gloves 1 Safety Goggles 1 plastic container 300 g Sodium Hydroxide (caustic soda in crystal form) 1 liter of heated demineralized water 3 liters of boiling water Boil 1 L of water and pour it down the drain. Put on long sleeves, gloves, and safety goggles. Go into a well-ventilated room, the garden, or the patio. Sprinkle 300 g of sodium hydroxide into 1 liter of water and stir with a silicone or plastic spoon until the crystals have dissolved. Be careful not to inhale the fumes from the mixture.It is very important NEVER to add water to sodium hydroxide; doing so can cause an explosion of corrosive liquid, which is dangerous, so be sure to follow the instructions I have provided above exactly.
Once the mixture is clear (not cloudy) and all the crystals have dissolved, pour it directly down the drain. Let the drain sit for 30 minutes, then pour in the two liters of boiling water. If this does not completely clear the clogged drain, you can repeat the steps above one more time. This is a stopgap measure, and the whole point is to avoid reaching the point where it becomes necessary to do this. So follow the maintenance guide above; maintaining your drain weekly means you’ll never need to use sodium hydroxide. However, I use the mild drain cleaner from the recipe above once a month and otherwise just stick to the weekly maintenance routine.I hope this guide to drain maintenance will help you. I don’t think anyone would read this if their drains were already working perfectly, so yes. In any case, I hope you find the information above useful, just as I have, and I wish you a blessed day.
Love

P.S. All posts on this blog are written and photographed by Belle Frost; no AI was used to generate content, and all copyright belongs to Maison Frost.








Leave a Reply